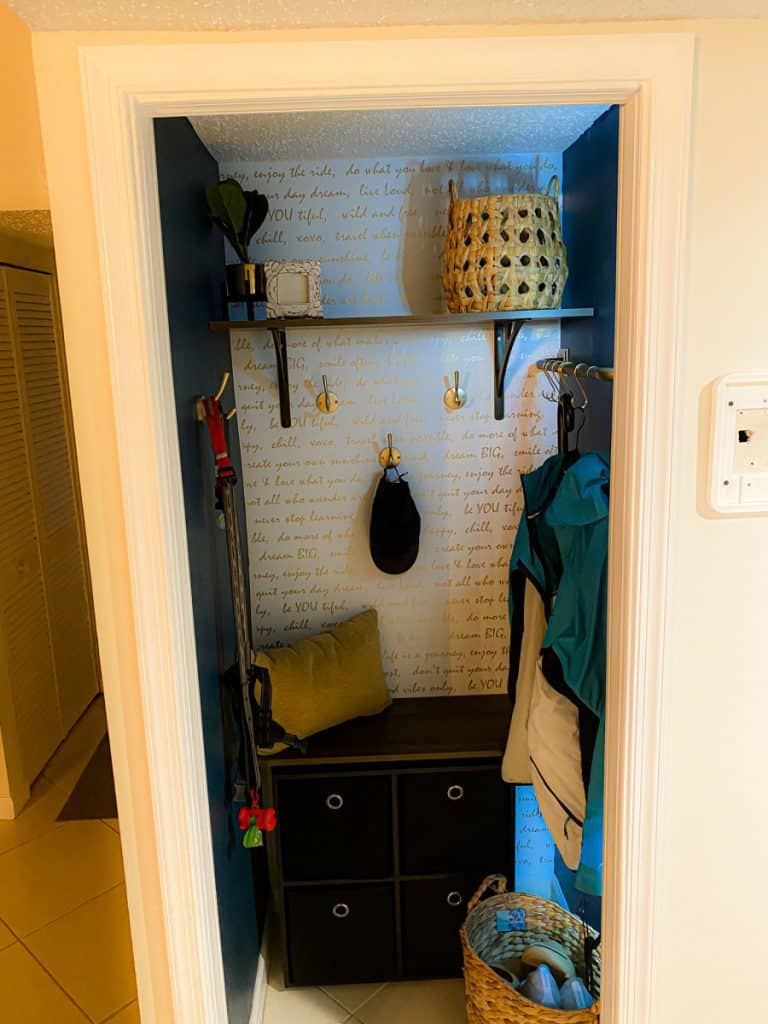
So I created a mudroom! Yes I did! I had a closet at the entrance of our home that I hated. It was not organized or appealing at all, so…we changed it! I am so excited with how it turned out and I wanted to share how we executed this amazing project. Check it out below!

Affiliate links are used in this article
Here is the original closet

Here are the steps and great tips to execute a mudroom transformation
- Have a vision & measure! Ensure your measurements are accurate so you can purchase everything correctly.
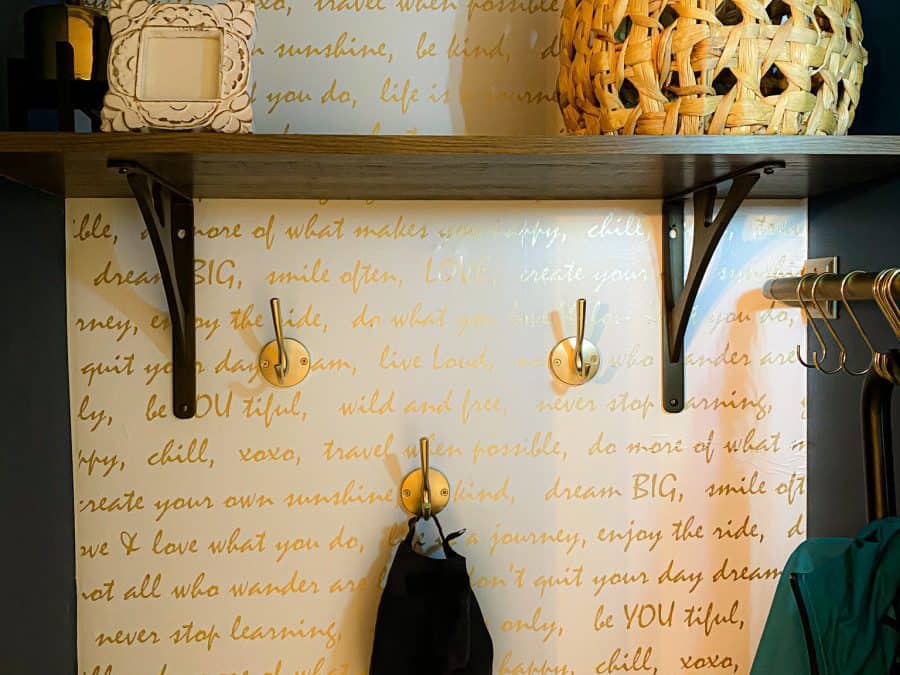
- To have some great contrast either use paint or wallpaper. I prefer wallpaper to give it some more excitement. Also I used peel & stick wallpaper for this project.

3. To have seamless wallpaper application ensure you overlap the seams just a bit so it flows smoothly on the wall.
4. Ensure you have a wallpaper smoothing kit while you apply the wallpaper. It is a lifesaver!
5. At Home Depot we made sure the measure the inside and outside of the doorway in order for us to purchase the correct amount of moulding. I wanted to make sure to frame the door so it will have an amazing finish that matches the rest of the doorway.
6. Finishing nails need to be your best friend! We literally put up the moulding with finishing nails and afterwards we repainting over the nails so it camouflage perfectly.

7. I wanted to add shelving to the space for storage as well as a nice home decor display. I bought the shelf and brackets from Home Depot. The space inside the closet is 34 inches so we decided to purchase a 70+ inch shelf and cut it in half. We did this based on issues with supply and demand. I also wanted to have the shelf be at least 12 inches wide.
8. I then basically created my own bench with purchasing the Target cube storage system. I placed the unit right under the shelf that was hanging. It gives the illusion there is a bench of some sort. I love it because I now have picked up more storage space.

9. To finish off the space I added a gold curtain rod as well as gold hooks for hanging needs. I loved using gold with teal blue wallpaper, it gave the space an elegance.
10. We also added cool baskets to the space for a cool storage feel too. Last, we purchases two of these battery operated light switches. This is a great avenue if you do not have electrical that close.
So there you have it! What transformation have you done recently that was rewarding? Shop the collage below for all the materials used.

xoxo,
Jessi


