" /> jessimorganhome - Jessi Morgan Home - Page 2
 
What interior styling has taught me

What interior styling has taught me

What interior styling has taught me is seeing my home as a reflection of me and a true representation of what decorating can be if done well. Keep in mind my style continues to evolve and I learn everyday new things to improve my house. Here are 6 tips that I have learned from interior styling so far. I promise your home will look better if you follow these 6 simple steps. 

This post may have affiliate links

1. Match your Appliances – Don’t get a stove from 1950s with the newest Samsung fridge! It doesn’t flow. Even if they are different vendors at least match the finish. Make them cohesive in finish. 

2. Good lighting – Never make lighting a afterthought. It could ruin the entire vibe in a home. Thank God my husband tackled that when we moved in. And finally I replaced the light fixtures in the kitchen. What a difference! My kitchen looked bigger after that. 

3. Add art in your kitchen vs a Home Kitchen sign – it will make the kitchen more beautiful and flow as if it is a museum of some sort. I feel like the kitchen is not just the place to cook, it is also a place to inspire. 


4. Balance out patterns & prints with solid colors – the best thing I did was add the Scandinavian rug to my lounge space. I love adding solid colors with a bold print. It makes the difference. I also love my Britto artwork hanging on a solid teal blue wall, it gives the space dimension somehow. 

5. Decorate around the TV vs leaving it alone – I loved adding an off center wallpaper to give the area around the TV some excitement. It was also great to add shelves as well. The TV is the focal point but it’s also important to have thing compliment around it. Check out my post on making my built-in


6. Having a focal point – Loved adding a black accent wall to our master bedroom gave the room more warmth. My ceilings are severely high and it really made the room feel cold with all the white walls. I had to do something to switch it up. So glad I added a black wall. Check out my post on making a zen master bedroom.

If you take some of these tips, it could really change the dynamic of your home. Also, shop my home here.


XoXo,

Jessi Morgan

Zen Master Bedroom Ideas

Zen Master Bedroom Ideas

I am slowly loving our zen master bedroom. I was going for a cozy, relaxing vibe considering how grand the room feels with the high exposed beams and ceiling. Check out how I made our master bedroom one of our favorite spaces so far:

  1. Black can bring the cozy – Due to the high white ceilings I found the room to be cold. I needed to make this room cozy and comfortable. So I decided to have a black accent wall and what a difference!!!! The black filled the room and the white walls to the ceiling was not the focal point anymore, thank goodness! I also bought a black chair cover to cover our lounge chair in the room. It was perfect to cover black and it fed off the black accent wall beautifully. 

2. Colorblock can bring the texture – I recently bought some camel & white color block decor pillows. It was perfect and it gave the depth and texture it needed to breaking up all the white bedding I had. 

3. Mood lighting is everything – I recently changed the lamps I had on our nightstands. I wanted more sleek and modern lighting vs a regular lamp with a shade. Having lamps that are black really blended well with the white bedding as well. 

4. Contrast – I basically have all white bedding, white pillows, white throw etc. In doing so, this was the reason for the black accent wall and black accessories. Having the contrast balances the room out and keeps it soothing. I also opted for a marble finish for our nightstands. It was the right move in applying the marble contact paper because the now black light fixtures stood out more. 

5. Artwork – I plan to add more artwork to our room soon but having a nice art piece in your bedroom will compliment the room always. I love the three piece art piece I have hanging over our bed too. It brings interests and texture to the space as well. 

Check out After & Before below…

How to refresh a pantry

How to refresh a pantry

This post may contain affiliate links

Going into the new year I needed to refresh and optimize our pantry within the kitchen. One lesson I have learned comes from Scandinavian living, where you merge style with function. Scandinavian is not only a minimal feel with soothing tones but it is also about displaying what you use all the time. For example, displaying plates on a kitchen table in a beautiful way because you use those plates daily. Or displaying your mop and broom in a way that is appealing to the eye but also functional since you use it all the time. 

I decided to redo my pantry to not just holding food but to also hold what we use daily in our kitchen. We have separate storage units on either side of our refrigerator on the other side of our kitchen and it became a chore to get things in and out for the stove/cooking. So I made our pantry to make it more functional for things that we use on a daily basis. Here are the key things we did to make the pantry within the kitchen functional and beautiful:

  1. Plates & Bowls – We did not have plates & bowl close by when we were in the kitchen. It didn’t make any sense. It’s so much easier now having them close by. We went with a simple black matte salad & dinner plate set of 6. It goes perfectly with my black and white aesthetic. 

2. Decor – I never really had decor within my pantry and I now love it. Add a picture frame, little vases or something to tie the pantry into the rest of your kitchen or home. 

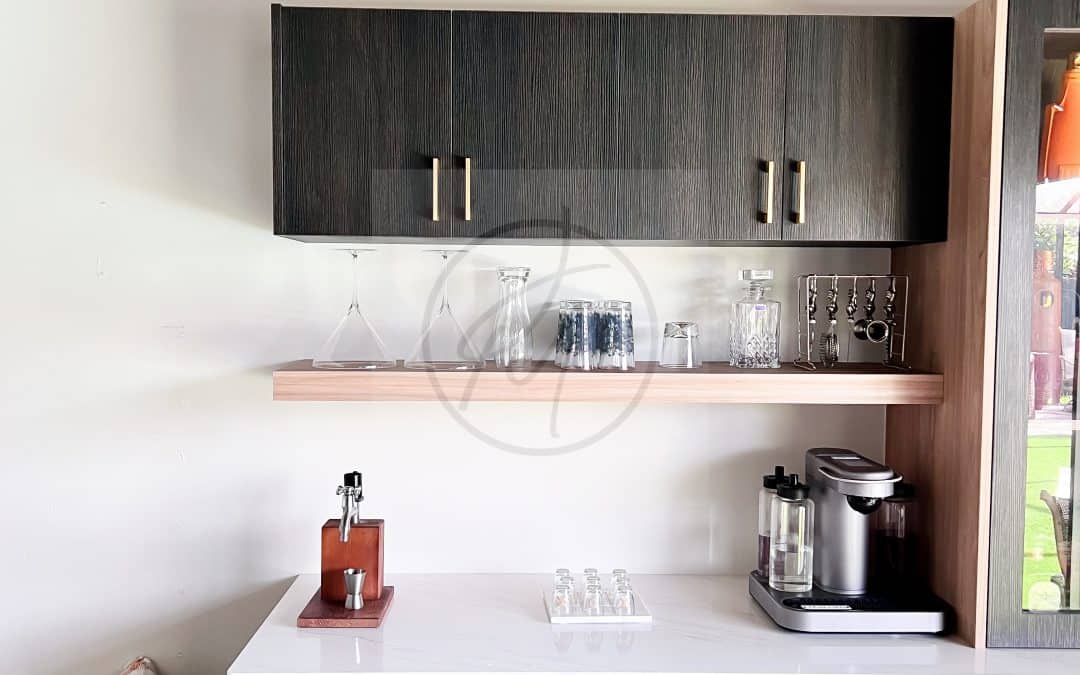
3. Glassware – I never had glassware or drinking glasses in my open pantry. It’s so easy to add to it and it’s functional. It’s also beautiful if you choose the right ones. Check out some that I just love right now. 

4. Create zones – I used trays to create zones for my coffee bar and for little snacks. It will all the little things like sugar, mugs and jars organized and in order. Also within the draws and shelf areas I separate them by: Snacks, Backstock, toiletries, and cooking items. 

5. Mug racks – I am a huge coffee drinker so I do have many coffee mugs and to using a simple black mug rack. It’s so nice to have and I hang my simple and cohesive mugs for a pleasing look.

If you want to shop any of my home, check out my LTK shop for more!

XoXo,

Jessi Morgan

Ikea DIY Built In

Ikea DIY Built In

My Ikea DIY Built In that I made with my family late 2022 is all that I dreamed it would be. So excited to finally reveal it! 

This post may have affiliate links

I am excited to share the process and reveal of my living room Ikea DIY built-in from Ikea cabinets. 

I have been wanting to utilize a wall we have in our family room for a while now and when my aunt came into town, we took it on with my grandfather. 

Here are the steps and tips as I went through this process. 

Measure! Measure! – It is so important to measure and convert it to feet. The best way is to have a measurement conversion calculator on your phone. It does wonders. 

Use IKEA tools! – I was able to draw up my floorplan on the IKEA website and they shared with me exactly what I needed to buy. It was awesome. I then took the diagram and added it to my canva account and drew out the room. It really gave me a clear plan on how to execute.

I used IKEA cabinet and doors for this project. But I would honestly go for already built cabinets from Home Depot or Lowe’s. If you wanted to paint them, that is the better way to go. 

Build a base. To ensure that you want it to feel like a built in. You need to build a base for the units to sit on. The height should be 1-2 inches tall for the base. It will look like a real built-in if done correctly. 

Stick on handles – Because the cabinet doors were already painted and finished I decided to get stick on handles to avoid drilling holes myself. I’m not the best at it. 

Our TV was actually not centered – so vs having to take it down and put it back up. I decided to add a off centered accent wall. It tricks the eye so everything now seems centered. 

Let stick on Wallpaper be your best friend – We decided to go with wallpaper vs actually installing slat wall because I like to switch up my house a lot and I don’t like full on commitment. It looks great and gives you the same look as real wood paneling. 

Kept the built-in floating & open – Because this room is somewhat narrow, I felt that it would have looked too big or overwhelming if we got a full on build-in around the TV. I went for open shelves for the room would still look spacious. I still picked up so much storage still. 

I’m so excited about the built-in. It just completes the home somewhat lol. Now we need to do the dry bar lol. 

The intial before and after

XoXo,

Jessi Morgan


Shop the room HERE


McNeal: Living Room Project

McNeal: Living Room Project

What a change! I am so happy that my parents allowed me to redo their living on a budget. For over 15 years the living room had the early 2000s Mediterranean feel with the dominant color being brown. Everything was brown and wood finish. We had to update it so that my mom could see the full potential of her home for the future. Here is are the key things we did to completely revamp this space. 


The Before, extremely dark and brown. We need to move past the Mediterranean 2000s trend.  

2. Go bright – Like I mentioned earlier my dad’s recliner is chocolate brown and my parent’s floors is a redwood vinyl which honestly I love. However with so much brown in their home and in their previous choice of furniture, it was time to do the opposite. Go bright! My parents were not keen to it at first. But I talked them into whites, creams, ivorys, blues, yellows and more. Their sofa is a beautiful performance fabric off white color. It just changed the entire feel of the room. 

    1. Blue rug – I chose an ivory cream rug with hints of blue in it to tie in the blue accents in the pillows we chose for the sofa. The blue really worked with the grey color walls they already had within the space. 
    2. Home accessories – We went for beautiful simple vases and decor pieces that would blend in well when my mom decorates for the holidays. Its best to go neutral.

3. Cool lighting – Within the space my parents have beautiful exposed beams that are the highlight of the house. Therefore there was never any recessed lighting or just beautiful light fixtures etc. So we decided to purchase 2 nice floor lamps that gave off two different feels for the room. 

4. Less is more – My mom wanted to keep the tv console they had. Again this pieces was a dark wood finish, so the idea was to add light color decor pieces on it and not fill it up. Before they had tons of dvds out and so many decor vases that it was chaotic. We focused on some of their beautiful coffee books, vases and their vintage vinyl record player. 

5. Catch the eye – Within this room they have a massive wall with studio lighting but here was nothing to show on it honestly. My parents loved my vinyl record wall in my house and wanted to replicate that. So we did and it turned out amazing. All the stunning vinyls are the wall brought color and we used white picture ledges to keep the room consistent with the rug and sofa. Its such a great conversational piece and my parents just adore it. 

6. Make your eye go up – another major win was removing the outdated curtain ruffle. I hate those! We removed those which were extremely dark and heavy, and replaced with simple sheer long curtains. We also took the rod and took it all the way to touching the beams. It makes your eye go up and it made the room look even bigger. 

Check out the before & after when we raised the curtain rod and added sheer curtains. 

 Outdated ruffled curtain valence Simple sheer draped curtain


Shop some of the looks from the room here. Excited to refresh the rest of their home this year. Next stop is my parent’s office and check other projects of mine too. See more pictures from the project HERE

Grab my freebie!

Subscribe to grab my freebie, preview future updates and more...

You have Successfully Subscribed!